Managing Roles
Roles define the actions that users can perform on Concord, such as signing agreements, inviting third-parties, creating templates, and much more.
Navigating to the Roles page
- From your Document Inbox, click on the gear ⚙ icon in the bottom left of your screen and then click Roles.

System Roles
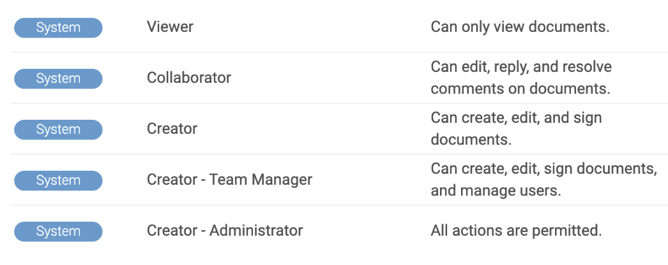
All Concord accounts come with several pre-configured roles. These System roles cannot be modified or removed from the platform.

| Viewer | For users that need to view or access documents and rich context only. No other actions are permitted. This is a read-only role. Users assigned the viewer roles do not use a paid seat. |
| Collaborator |
For users who work with documents in a limited capacity. Collaborators can create and edit draft documents, collaborate on documents, and upload signed documents. They cannot create Templates. |
| Creator |
For users who need full access and control to manage all aspects of the contract lifecycle. Creators can perform all actions on Concord except managing users, listing all tags, assigning users to teams, and assigning roles. |
| Creator - Team Manager |
For users who can perform all actions permitted to Administrators except accessing documents through Administrator Access and listing all tags. |
| Creator - Administrator | ALL actions permitted. Administrators are the only role that can manage folders and folder hierarchy. |
Note: By default, the first user created in your company account is assigned the "Creator - Administrator" role. All subsequent users are assigned a role when they are added to the account. By default, new users are assigned to the Viewer role. Each user can be assigned only one role per company/subsidiary account.
Custom Roles
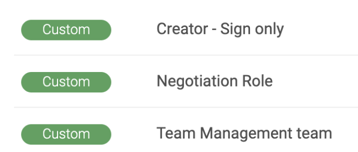
Administrators can create and assign as many Custom Roles as they need for a more customized experience. Custom roles can be modified by an Administrator at any time.
Note: After you modify a Role, users assigned to that Role will need to refresh the page for the changes to take effect.

How to create a Custom Role
Administrators can create a custom Role by following these steps:
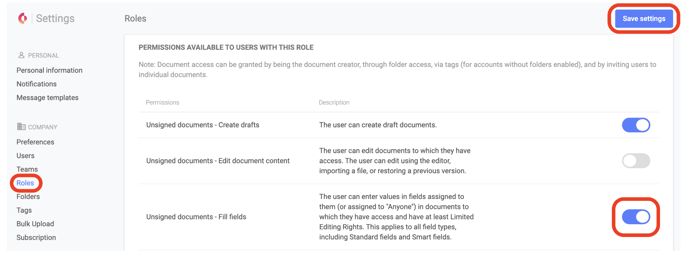
- Navigate to Company settings > Roles.
- Click the Add new role button in the top-right corner of the page.
- Enter the Role name and Description (optional).
- Grant specific permissions for the role using the toggles.
- Click the Save settings button in the top-right corner of the page to save.

